We say that you have prepared the wall surfaces in your bathroom for the preparation of your tiles and you have prepared the layout correctly so that you do not remove the narrow strips of tiles where they look annoying. If you haven't already, you can read the first 2 articles in this series that will help you do just that: "Prepare your tiled walls exactly to your level." And "Arrange your bathroom wall tiles."
So your wall surfaces are ready to be tiled and you have carefully marked your horizontal and vertical starting lines on the wall and every part of the wall. These are just two key steps you can take to begin the process of preparation for mediation.
Now you're ready to start fixing your tiles in the bottom half of the wall. The process of tile sealing is basically the same whether you are using porcelain tile, ceramic wall tile, or any kind of natural stone tile. The variety of tools and adhesives you need, and in the case of natural stone tiles, any sealant coating may be needed. In the case of most natural stones (and especially limestone tiles), seal the tiles with your hands before installing to mark the surface to prevent adhesion and grease.
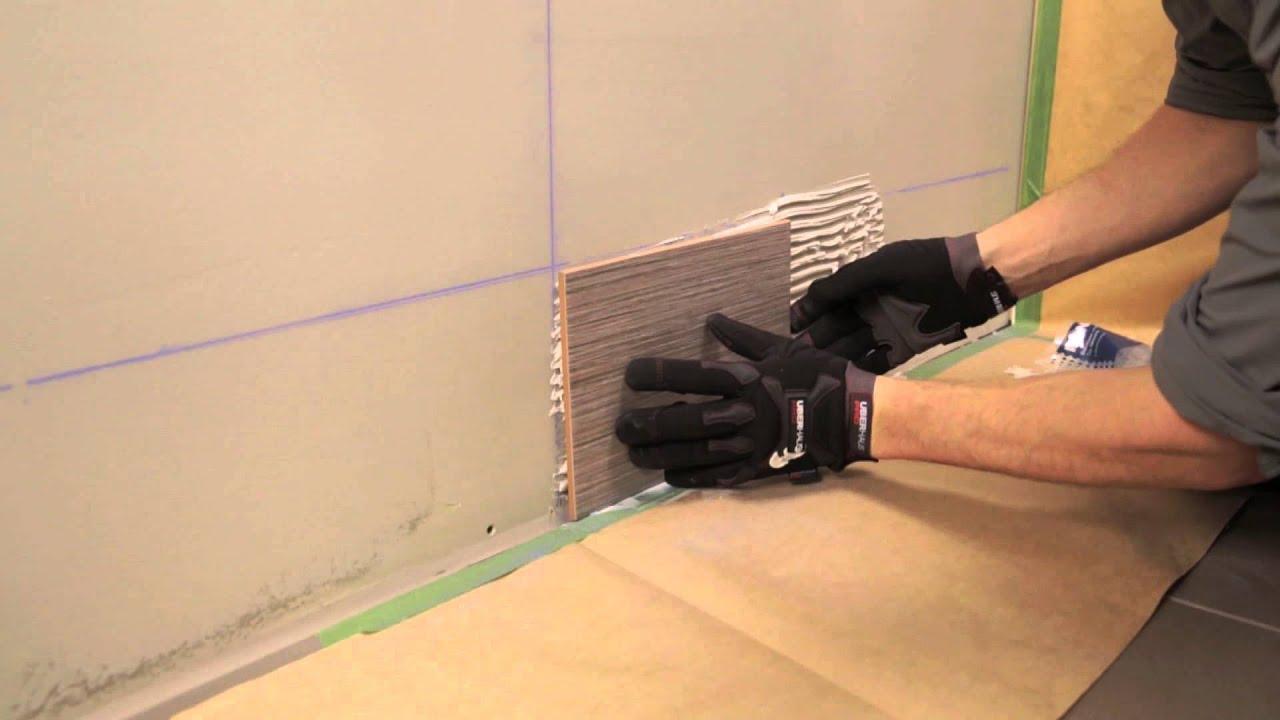
Spread your adhesive over a small area - the size you can tile before the adhesive dries. This may be a trial and error for the first few tiles but you will soon find it hanging.
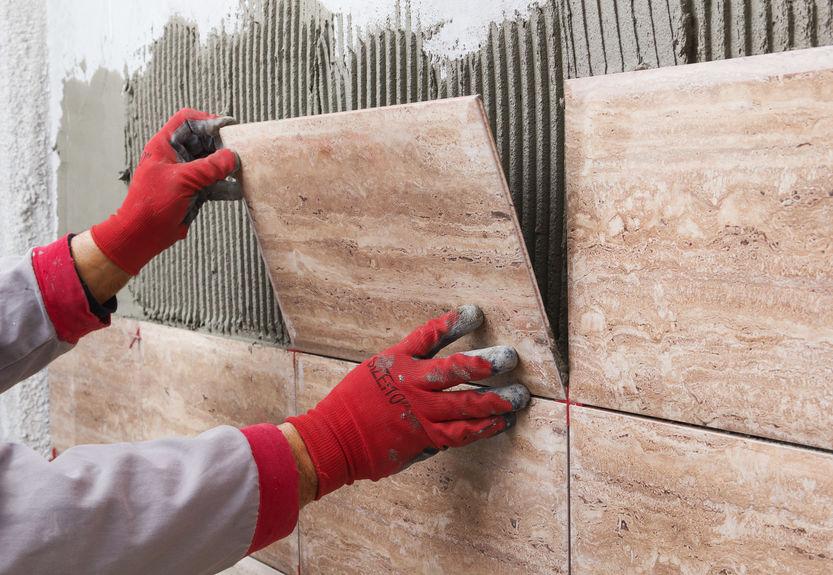
Place the first tile below your horizontal alignment line and one side of the vertical alignment line on the largest part of the wall area in your room. Then continue to lay tiles from floor to floor and then other things like other corners of the room like a bathroom, door, etc. A good adhesive should hold the tiles relatively quickly and they can't slip down. . If you find that the tile is slippery enough, it could be the type of wall tile you choose or the type of tile that is being laid.
The attractiveness of the substrate will affect how quickly and easily the tile is laid. For example, tiling a painted surface takes longer than adhesive surfaces, such as plaster, sticking to the tile surface. Using too much adhesive can cause the tile to slip down, so check the recommended amount before you start.
L. to achieve professional performance. Make sure you use the spacing between each tile and also check the horizontal and vertical lines from time to time using the spiritual level.
Once you've completed the lower half of the bathroom, the upper half is usually easier because you now have a vertical line around the room. Keep tiling as you would in the lower half of the room.
Once you have placed all the tiles on the wall or any part of the wall, then you will need to cut the tiles to fill the gap between the entire tiles and the floor, ceiling, door, or sanitary ware. Well, getting a clean cut is the hardest part of tiling. If you are laying ceramic tiles, it is possible to score them and crush them along the scoreline, but if you choose porcelain wall tiles, you need a good quality electric tile cutter. Will need You may need a professional cutter for dense porcelain tiles, but they can be hired if necessary. Natural stones such as limestone or marble will need to be cut with a wet cutter to prevent the edges from sticking.
The author has written and published articles on a wide range of topics including modern art, asbestos issues, interior design, porcelain tiles, ceramic tiles, home renovation, travel, and project management.
Also read about:
Attractive Gifts Ideas to Captivate the Newly Weds
What is SEO
Excited IT Jobs & How to Prepare for it